
from this series of articles, we will provide you with all the knowledge and information about Arduino. if you are a beginner then this is for you.
We cover all of the topics listed below.
- Introduction to Arduino and its hardware and software components.
- Using the Arduino Integrated Development Environment (IDE) to set up and program an Arduino board.
- Basic electrical system concepts and how to create them with Arduino.
- Programming fundamentals and the Arduino language (based on C++).
- Arduino communication with sensors, actuators, and other hardware components.
- Simple projects such as a digital clock, a temperature sensor, and a light-activated switch.
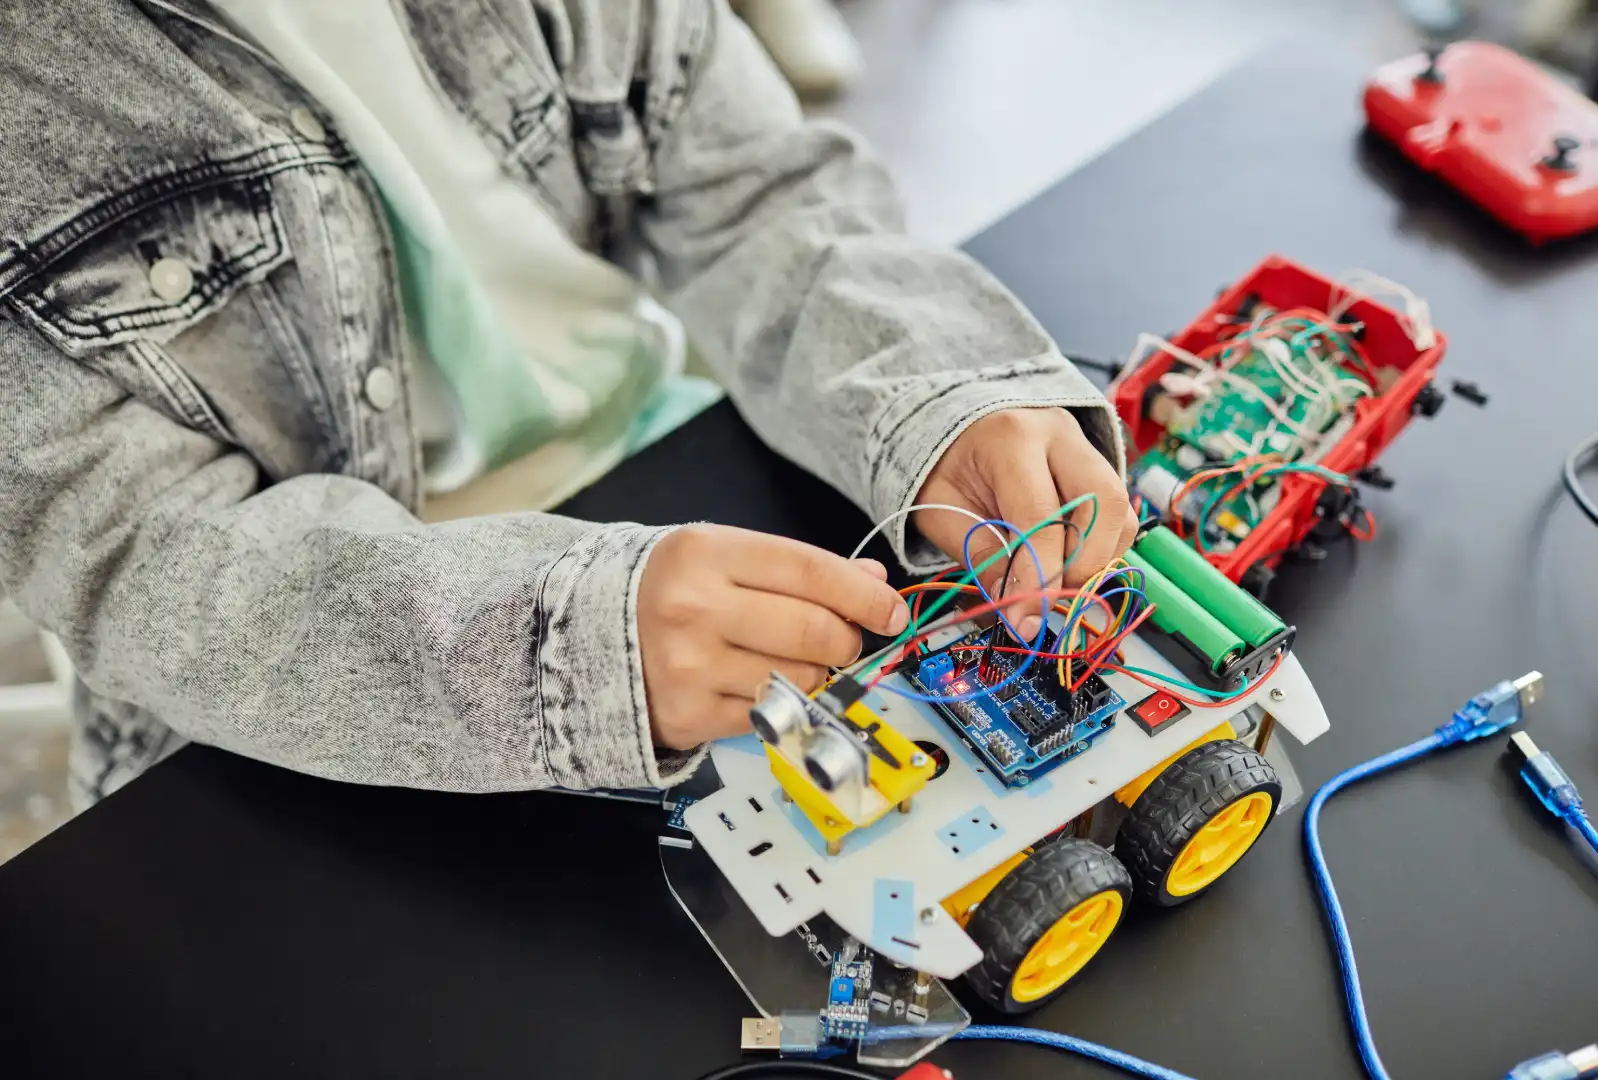
- Creating more complex projects like a remote-controlled car, a weather station, and a robot arm.
- Using Arduino to connect projects to the internet and remotely access them.
- Advanced programming techniques, such as the use of libraries and functions, together with code debugging.
- Troubleshooting and error handling techniques for Arduino projects.
- Using Arduino in combined with other platforms, such as the Raspberry Pi, to develop more complicated projects.
- Investigating the latest Arduino trends and developments, such as the Internet of Things (IoT) and wearable tech.

visit – https://circuitprofessor.com/category/microprocessors/
for introduction steps and then return to this point to continue with step number two (Using the Arduino Integrated Development Environment (IDE) to set up and program an Arduino board.)
Continue from here, if you have some beginner-level of knowledge Arduino board and an IDE.
3. Using the Arduino Integrated Development Environment (IDE) to set up and program an Arduino board.
I think you already know some pin configurations and power pins, and ports in arduino board. Maybe you’re just using Tinkercad to simulate your Arduino projects.

this is TED. most of the time he ask some quation ralated to topic
IDE stands for Integrated Development Environment. which helps us in scratching a program. libraries can be installed using the Arduino IDE. check the compilation errors and compile your code. You can also send the code to whatever board you have. Finally, you can use a serial monitor to communicate with your board. also, IDE is used to visualize inputs and output as a plot or text.
You may be confused by some words. Don’t worry, we’ll go over all of the words and concepts behind the IDE.
your Arduino IDE looks like this

you can change the font size by scrolling the mouse middle button while pressing the control/command button.
Let’s consider IDE buttons

Buttons in the upper left corner
correct (compiling) button

After you’ve finished the sketch, click this button. The errors are checked automatically, and your program’s hex is created.
Send button

If no errors have been found, then you can send your hex code to your microcontroller.
“Tool” is the next use full drop-down menu

“Connectivity section”

in this section, we can change the board types, Ports

if your board has connected to your PC then it will show up this.
if you have any kind of error while connecting the board to the PC.then go to “Device manager”

then check the “PORT” section

Perhaps your PORT drivers have not been properly updated.
“Manage Libraries”


you can search and install any library through this section.
“Serial monitor and Serial plotter section”

you can send or read any data through the serial monitor and you can plot incoming data in the serial plotter.
Serial Monitor

Serial plotter


In actuality, this is just the beginning. Basically, if you already have any knowledge of programming languages such as C, it will be helpful to your future project.
Let us look at some devices that are commonly used in many projects. In the following articles, we will dive deep into arduino concepts. Actually, this article series will be more helpful to you to understand more advanced-level electronic projects such as assembly hardware programming and PLC programming.
Breadboard

you can see the +/- lines are connected internally. you connect your logical high value (5V) and a ground voltage to these lines and these lines act as common lines.
Jumper wires
Jumper wires are divided into three types:
- male-to-male connection

2. female-to-male connection

3. female-to-female connection

potentiometer

It is just a variable resistor. there 3 pins in the potentiometer

Resistors
I think you are familiar with resistors. sometimes

you can refer to colour codes to find the resistor values and many more mobile apps available in the play store and apps store.
Switches
push buttons

on/off switches

Bluetooth modules
using these kinds of modules we can communicate wirelessly
HC-05

Gyroscope and Accelerometer sensors
we can measure the Liner accelerations and angular velocities in x,y, and z directions
MPU 6050

Motor drivers
In the real world, various types of motor drivers are used, such as the L298N two-motor driver.

IR sensors
we can measure the distance using Infrared rays.

7 segment display
this is a combination of 7 LEDs and we can display 0-9 digit values in this display. there are two types of 7 segments available. such as common anode and common cathode.

Sonar sensor
this is another type of module to measure the distance using sound waves.

Server motors
A standard DC motor with gear wheels. That is, we can rotate the motor’s axis at a specific degree angle and mostly use it to make robotic arms.

In this article, we covered the second step.
these are the common modules and devices which are used in the next steps. I think this is enough for this article. leave a comment if you have any problems.
Click on the next step(step no 03)…
Pretty nice post. I just stumbled upon your blog and wanted to mention that I have truly enjoyed surfing around your blog posts. In any case I will be subscribing to your feed and I’m hoping you write again soon!
Thank you for your help and this post. It’s been great.
For the reason that the admin of this site is working, no uncertainty very quickly it will be renowned, due to its quality contents.